 Reviews


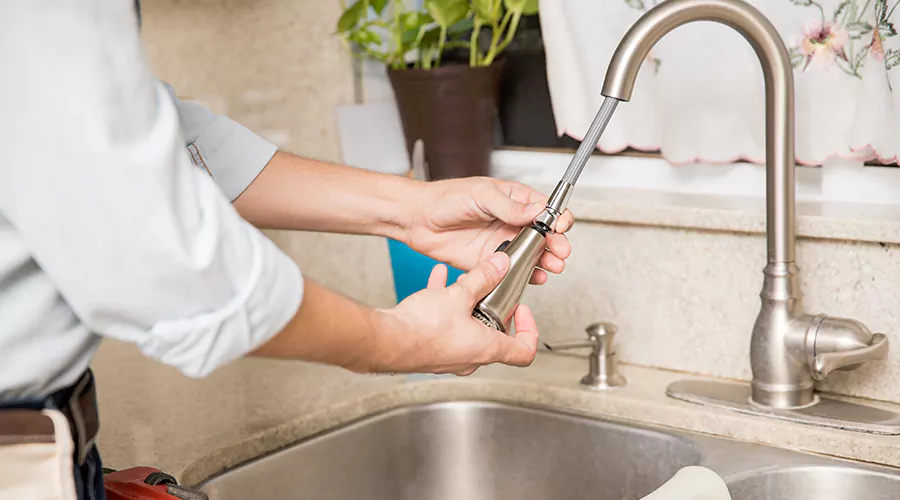
A leaky faucet dripping once per second wastes about 3,000 gallons of water a year and adds $20 to $50 to your utility bills before any damage starts. The part behind most drips costs less than $15 at the hardware store.
You can fix leaky faucet problems yourself in under an hour with two basic tools. A plumber charges $125 to $175 for the same cartridge swap in 2026. This guide walks you through the repair for every fixture inside and outside your home.
Wait on the repair and the math turns against you fast. Constant moisture pits the valve seat and stains the basin. A $5 washer problem grows into a $300 fixture replacement within a single season.
Why Your Faucet Drips?
A faucet dripping from the spout has a failed internal seal in nine cases out of ten. Water pushes past a worn part even when the handle sits fully closed. The repair means replacing that one small component rather than swapping the entire fixture.
The most common culprits are worn washers, failed O-rings and a corroded valve seat. Here's how each one behaves:
- Worn washer: the rubber ring that presses against the valve seat flattens with age. This causes a steady spout drip on two-handle faucets.
- Failed O-ring: the small rubber ring on the stem dries out. Water then seeps around the handle or base.
- Corroded valve seat: minerals eat into the brass surface the washer presses against. New washers keep failing until the seat gets dressed.
- Cracked cartridge: single-handle faucets drip when the internal cartridge wears through.
- High water pressure: pressure above normal strains seals and washers, which wears parts out faster.
A sink leak under the cabinet is a separate issue. Check the supply line nuts and drain trap before you blame the faucet body.
Insider tip: a drip that appears only at night often means high municipal pressure, not a bad part. Pressure climbs after dark when neighborhood demand falls.
Identify Your Faucet Type First
Four valve designs control nearly every residential faucet sold since 1990. Compression faucets seal with rubber washers. Cartridge faucets use a plastic or brass insert. Ball faucets rotate a slotted metal ball. Ceramic disc faucets glide two polished plates together. Your repair part depends entirely on this design.
| Type | How to spot it | Repair part | 2026 part cost |
|---|---|---|---|
| Compression | Two handles that tighten down | Washer + O-ring | $2 to $5 |
| Cartridge | Handle lifts and turns smoothly | Replacement cartridge | $10 to $50 |
| Ball | Single handle arcs over a dome cap | Seats-and-springs kit | $10 to $20 |
| Ceramic disc | Quarter-turn handle with crisp stops | Disc cylinder | $20 to $50 |
Cartridge bodies and ceramic disc cylinders look similar, but the cartridge has no moving parts while the disc cylinder pivots to open ports on the bottom.
Insider tip: take the old part to the store instead of guessing the model. An exact match is the difference between a permanent fix and a repeat drip.
Fix a Dripping Faucet in the Kitchen or Bathroom
Dripping faucet repair follows the same five stages on every indoor fixture. Shut off the water supply. Plug the drain. Open the handle assembly. Replace the worn seal or cartridge. Reassemble everything and test. Most homeowners finish the whole job in 30 to 60 minutes.
- Step 1: Cut the water: Shut off the supply valves beneath the sink, or turn off the master supply for the whole house if those valves are missing or stuck. Then open both faucets to drain the lines.
- Step 2: Find the leaking side: On a two-handle sink, close one supply valve at a time. If the drip continues after the first valve closes, the other line is the source. To fix dripping faucet spouts you often need to open just one handle unit.
- Step 3: Protect your parts: Close the drain stopper and lay a towel in the basin. Line up each removed piece in order so reassembly runs in reverse.
- Step 4: Open the handle and swap the part: Slip a screwdriver blade under the decorative cap, twist it off, then remove the screw underneath and pull the handle free.
- Step 5: Reassemble and test. Tighten by hand without overtightening, then open the supply valves slowly and run the water for a minute.
Insider tip: weak or crooked flow after the repair isn't a new leak. Soak a vinegar-soaked towel around the aerator for an hour to loosen mineral deposits, then twist it off with pliers and rinse the screen.
Stop a Faucet Leaking From the Handle
A faucet leaking from handle joints has a loose packing nut or a dried O-ring rather than a failed washer. Water escapes there only while the faucet runs. Tighten the packing nut an eighth of a turn first because that single adjustment stops many handle leaks on the spot.
- If tightening fails, go one layer deeper: Wrap Teflon tape around the threads beneath the packing nut and tighten it gently without overtightening. A tap leaking from handle threads after both fixes needs a new O-ring on the stem.
- Pinch the O-ring to get a fingerhold and pull it off: Replace it with an exact match coated in a little plumber's grease, then reassemble. The whole swap takes ten minutes.
Insider tip: stems can seize from corrosion. Never bang a stuck handle free because the inner workings might break. Wiggle it while prying gently upward instead.
Fix an Outdoor Faucet Leaking at the Spout or Stem
An outdoor faucet leaking from the spout needs a new washer just like an indoor compression fixture. Unscrew the packing nut and pull out the stem. Swap the washer at the tip and thread everything back together. The replacement washer costs under $3 at any hardware store in 2026.
Outside faucet leaking problems trace back to three zones. Each zone has its own fix:
- Spout drips come from the stem washer described above. You'll notice an outside water faucet leaking this way most often after heavy summer hose use.
- Stem leaks show as an outside spigot leaking around the handle while water runs. Snug the packing nut a quarter turn clockwise to reseal it. An outside faucet leaking from handle areas almost always stops after this one adjustment.
- Cap leaks appear as a garden faucet leaking from the anti-siphon cap on top. Pop the cap and replace the split vacuum breaker gasket inside.
Hose connections deserve a quick check too. An outdoor spigot leaking only while the hose runs usually has a worn hose gasket rather than a faucet fault. Meanwhile an outside water spigot leaking despite a fresh washer likely has a pitted seat, so dress the seat or replace the sillcock for $15 to $30.
Freeze damage is the serious case. An exterior faucet leaking behind the wall after its first spring use signals a pipe that froze and split over winter. You may find an outdoor water faucet leaking this way invisibly, so check the basement ceiling below the hose bib for fresh stains. Left alone through fall, an outdoor water spigot leaking steadily also feeds ice that widens the damage.
Insider tip: frost-free sillcocks hide the washer at the far end of a 12-inch stem inside your wall. Remove the entire stem through the handle opening to reach it.
What Faucet Repairs Cost in 2026
Professional leaky faucet repair runs $75 to $350 in 2026, with the typical cartridge or O-ring job landing at $125 to $175. DIY parts cost a fraction of that. The most expensive option is doing nothing, because water waste and damage compound every month.
| Approach | Typical 2026 cost | What you get |
|---|---|---|
| DIY washer or O-ring | $2 to $15 | Permanent fix for compression drips |
| DIY cartridge or disc | $10 to $50 | Fix for single-handle faucets |
| Plumber repair | $75 to $350 | Labor at $45 to $200 per hour plus parts |
| Full replacement | $150 to $450 installed | New fixture with leak testing |
| Ignoring it for a year | $20 to $50 in water plus damage | Nothing |
Regional labor rates shift the totals, with Northeast markets running about 1.15x the national average and Southeast markets about 0.90x.
When to Call a Professional?
Call a plumber when the drip survives a correctly matched replacement part. Persistent leaks point to a damaged valve seat or trouble inside the wall. A licensed plumber carries seat-dressing tools you don't own and can diagnose pressure problems during the same visit. Faucet Repair can address persistent leaks caused by damaged valve seats, worn internal parts, or other faucet problems.
Use these trigger points:
- The drip returns within days of a new washer or cartridge.
- The valve seat feels rough or pitted under your fingertip.
- Shutoff valves under the sink are corroded and won't close.
- Water stains appear on the wall or ceiling near any fixture.
- A pressure gauge on a hose bib reads above 80 psi.
- The faucet is past its 8 to 20 year working life and parts are discontinued.
- An exterior line split during a freeze.
- Several fixtures started dripping in the same month.
A professional can resurface a corroded seat, solder in a new sillcock and install a pressure-reducing valve. Those three jobs sit beyond a safe DIY scope. Severe leaks that have already caused water damage belong with a plumber rather than a weekend repair.
Prevent the Next Drip
Prevention costs about $10 a year against a $275 average service call. Small habits protect the seals that fail most often. Every step below takes minutes and needs no special tools beyond a pressure gauge and a bottle of vinegar.
- Close handles gently, every time: Cranking a handle shut crushes the washer and shortens its life.
- Soak aerators in vinegar every 3 months: Scale buildup forces pressure against internal seals.
- Disconnect hoses each fall before the first freeze: A connected hose traps water that splits the spigot.
- Test water pressure once a year: Keep it under 80 psi to spare every seal in the house.
- Exercise shutoff valves twice a year: A quarter turn back and forth keeps them working for the day you need them.
Conclusion
Almost every drip comes down to one worn part that costs less than lunch. Match your faucet type, swap the right seal and the problem ends for years. If the leak outlasts your repair, a licensed plumber can fix what's hidden in the seat or the wall. This week, put a bucket under the drip and buy the matching part.